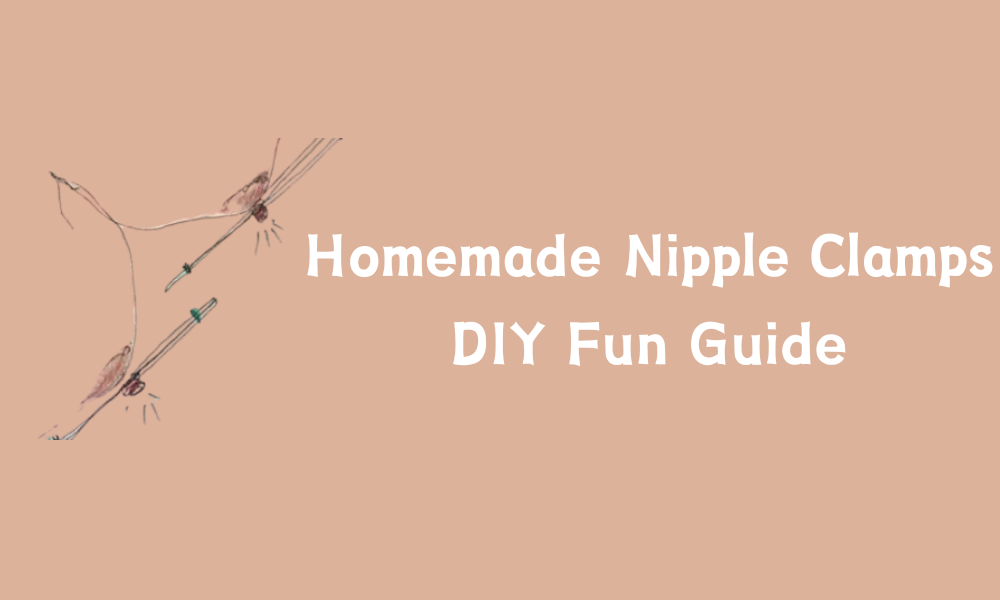
Nipple stimulation is a very pleasurable experience that can enhance sexual desire and intimacy between partners. If you can’t get commercially available professional nipple clamps for the time being, homemade nipple clamps are a fun and especially temporary option. But be sure to keep safety as your primary consideration. In this guide, we’ll discuss how to make DIY nipple clamps using common household items, the potential risks involved, and some semi-safe alternatives to consider.
Understanding nipple clamps
Nipple Clamps provide varying degrees of pressure and stimulation effects on the nipple and are a popular choice for BDSM play enthusiasts and those who are exploring. Depending on the type of clamp and the user’s needs preferences, they can range from a more gentle squeeze to a more stimulating pinch.
Pleasure from nipple stimulation
Nipple stimulation activates areas of the brain very similar to genital stimulation. This means that nipple play can indeed increase sexual desire and even cause orgasms in some people. Used properly, nipple clamps are perfectly suited to increase sensitivity and enhance the stimulation experience.
Types of nipple clamps
The following types of nipple clamps are commonly available on the market, each offering a different stimulation experience:
Tweezer Clamps: adjustable clamps that allow you to control the strength of the clamps yourself.
Cloverleaf Clamps: Provide a more intense clamping force, often with weights to increase sensation.
Magnetic Clamp: Uses magnets to hold the clamp in place so that no physical pressure is required to achieve results.
In addition, there are many DIY options that are also effective and enjoyable.
DIY Nipple Clamps Safer Alternatives
While we don’t encourage you to make your own nipple clamps, some people are tempted to try to get creative on their own. Here are some semi-safe alternatives:
Shower Curtain Clips Nipple Clamps
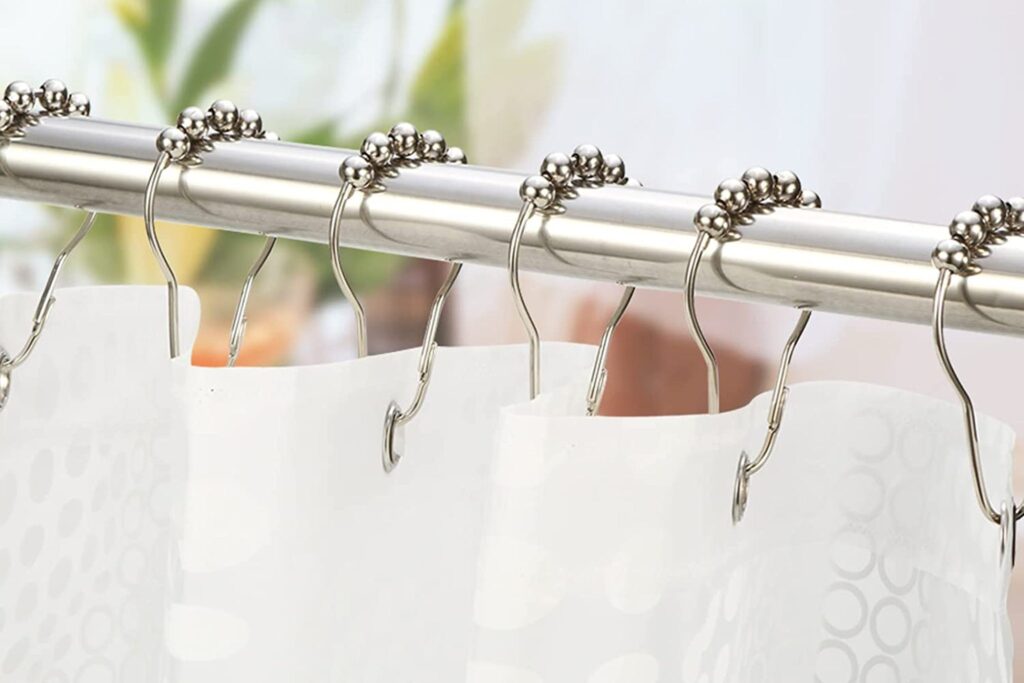
Materials needed
Shower curtain clips
Chain (length to suit your needs)
Step-by-step instructions
Step 1: Gathering materials
Gather the shower curtain clips and a chain that suits your needs. Make sure the clips are in good condition and the chain is strong enough to hold the tension.
Step 2: Remove old clips
Repurposing old shower curtain clips requires that you carefully remove them. They are designed to be very easy to remove.
Step 3: Attach the clips to the chain
You can use the hooks on the shower curtain clips to attach them securely to the chain. Always make sure that the clips are tight around the chain and, if necessary, use sharp-nosed pliers to hold them firmly in place.
Step 4: Repeat the above procedure
Ensuring that the pressure is even and freely controllable, a second clip can be fitted to the other end of the chain. This will hold the chain firmly in place during use.
Chopstick Nipple Clamps
Materials required
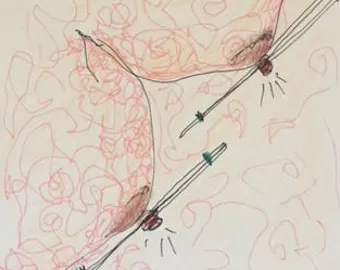
Two chopsticks
Rubber bands
Step-by-step instructions
Step 1: Gathering materials
Find a pair of chopsticks and some rubber bands. These items are very common at home and can be easily obtained.
Step 2: Wrap the chopsticks
Take out a pair of chopsticks and tightly wrap a rubber band around one end. You can make gradual adjustments to find what feels best for you.
Step 3: Test before use
Before applying the clamp to a sensitive area, test the pressure on less sensitive skin such as the lower arm. This will help you determine the strength of the pressure, as well as make timely adjustments based on feedback.
Step 4: Polishing edges
Avoid any rough edges or chips, and be sure to round them off using sandpaper or other sanding. This makes it safer and more comfortable to use.
Step 5: Use the clips
Finally, place the clamps on your nipples and gradually adjust the tightness as you need it. Always stay in communication with your partner. Always think in terms of putting safety and comfort first, and if the clamps cause you excessive pain, stop and remove them immediately.
Clothespin Nipple Clamps
Materials needed
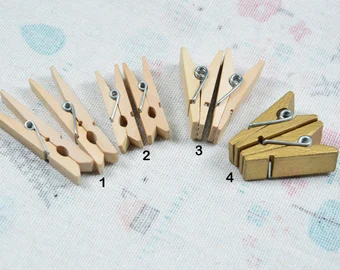
Clothespins (bamboo is best)
String
Standard scissors
Step-by-step instructions
Step 1: Gather materials
Gather the bamboo clothespins, selected string and scissors. Always make sure that all materials are clean and not damaged in any way.
Step 2: Cutting the rope
Cut the selected rope to your desired length. The exact length depends on how far apart you want to separate the clips.
Step 3: Creating connection points
Tie multiple tight knots in the cut rope to create strong attachment points. This will prevent the clothespins from slipping out of place during use.
Step 4: Threading the rope
Thread the string through the spring part of the clothespin and secure it firmly, this will ensure that the clothespin stays in place during use.
Step 5: Trimming excess rope
Once the clip has been secured, trim the remaining excess string. This step avoids the risk of unwanted tangles or discomfort during use.
Tweezers Nipple Clamps

Clean tweezers can also apply pressure to the nipple. They are also adjustable, making it very easy to control the intensity:
Safety: Always ensure that the tweezers are clean and free of rust. Avoid any sharp edges.
Adjustment: You can adjust them gradually by controlling the strength of the squeeze according to your comfort level.
Paper Clips Nipple Clamps
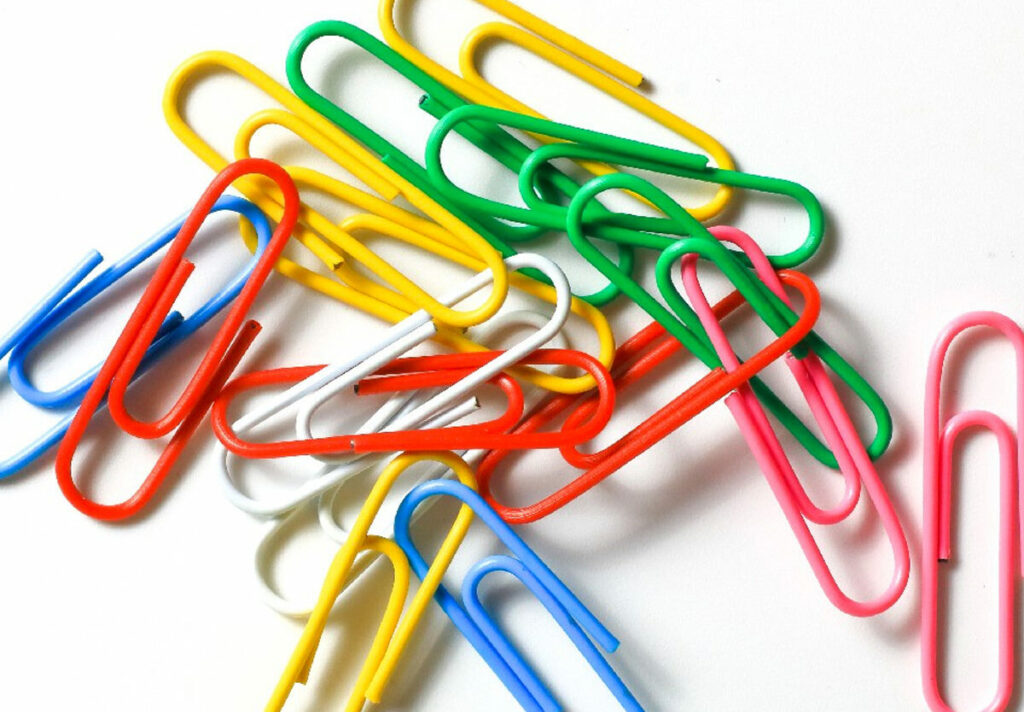
A simple nipple clamp can be made by bending a paper clip into a U-shape:
Test: Test on non-sensitive skin such as the arm before using in the nipple area.
Monitoring: Take care to avoid sharp, rough edges and apply pressure gradually.
Hair Clips Nipple Clamps
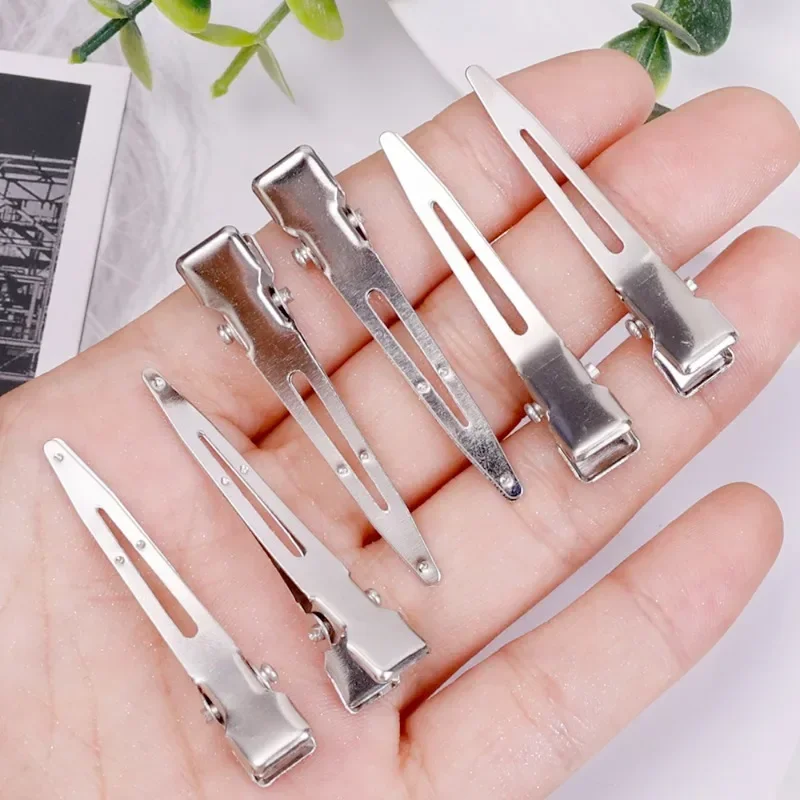
Hairpins can also be easily adjusted and create a pinching effect:
To use: Place the nipple area between the legs of the hairpin and gradually adjust the tightness to suit your needs.
Note: You can start with a lighter force and then gradually increase the pressure, making sure to always observe your own reaction and not to use too much force.
Unsafe ideas to avoid
While there are some homemade alternatives that are relatively safe, there are some items that pose a significant risk:
Alligator clips: these clips are likely to apply too much pressure, creating a risk of bodily injury.
Sharp objects: be sure to avoid items that have sharp or rough edges.
Safety tips for using Nipple Clamps
As with all BDSM play or sex play, safety should always be a primary consideration. Here are some important tips to ensure a safe and enjoyable experience:
Start slowly
If you’re new to BDSM, it’s important to start with gentle pressure and gradually increase the intensity as you feel more comfortable.
Time limits
Avoid using the clamps for long periods of time. Check the nipple area for any signs of damage or discoloration in about 10-15 minutes.
Gentle removal
Always loosen the clamps carefully rather than pulling them straight off, as this will avoid injury.
Test the strength
Always test the strength of the clamp with non-sensitive skin, such as the small of your arm, before officially using it.
Communication
If you are using the clamps with a partner, make sure to maintain open communication.
Conclusion
While it’s fun to make your own Homemade nipple clamps, be sure to prioritize safety and comfort.DIY alternatives tend to be riskier. If you have decided to make your own nipple clamps, be sure to choose materials that are safe and take proper precautions to avoid injury. It’s important to note that investing in nipple clamps made by a professional manufacturer can be a safer and more pleasurable experience.
Whether you choose to make DIY nipple clamps or invest in professional nipple clamps, embrace your sensual side and enjoy the journey of discovery!
-
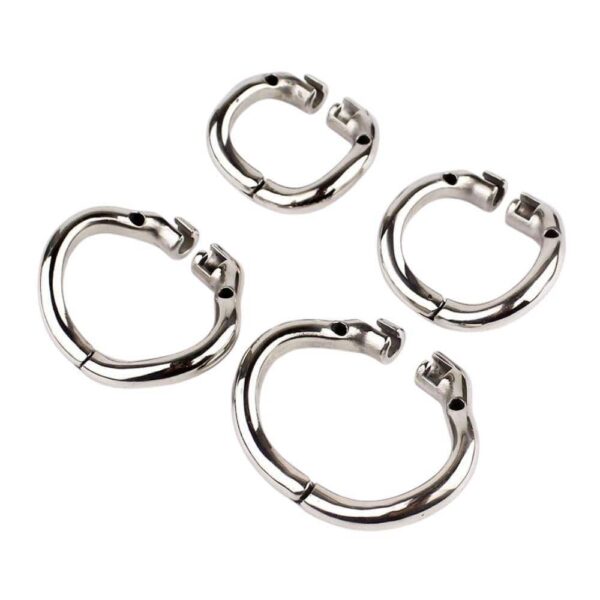 Hinged Cage Ring Accessory Ring for Not Getting Off Metal Chastity Device$29.99
 -
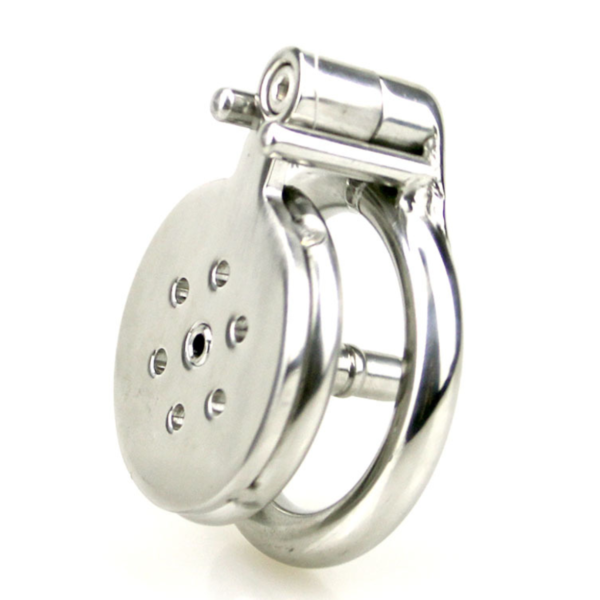 Tiny Metal Chastity Device 0.62 Inches Long$49.99
 -
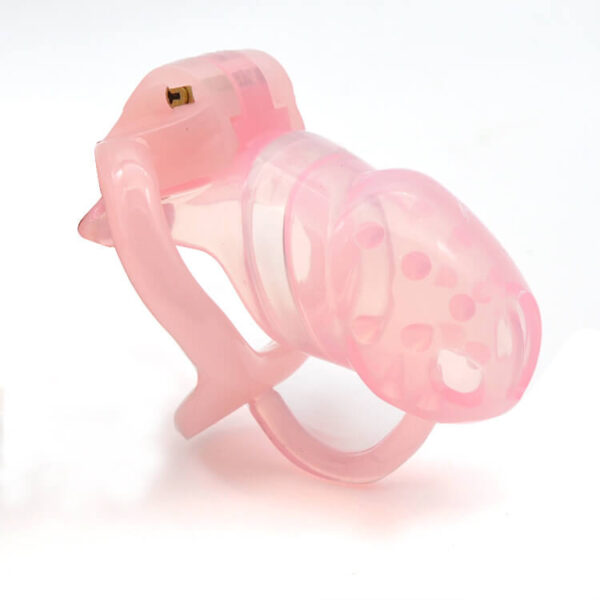 CC76 Spiked Silicone Chastity Cage$45.99
 -
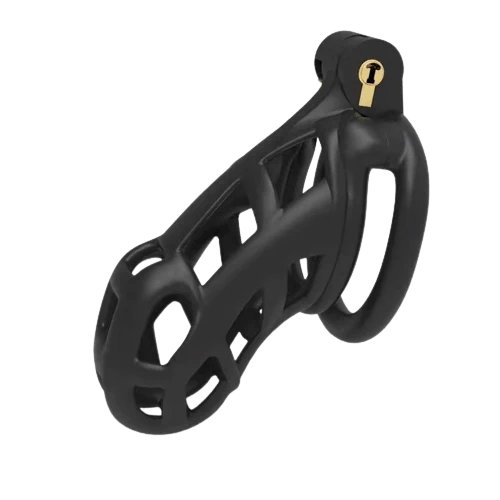 Cobra Male Chastity Device Kit 1.97 to 3.94 inches Long$59.99
 -
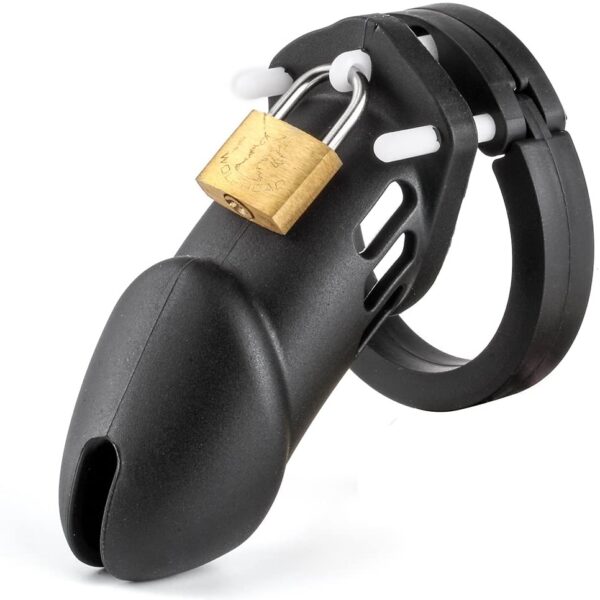 Male’s Black Silicone Chastity Cage 3.15 Inches and 3.74 Inches Long$39.99
 -
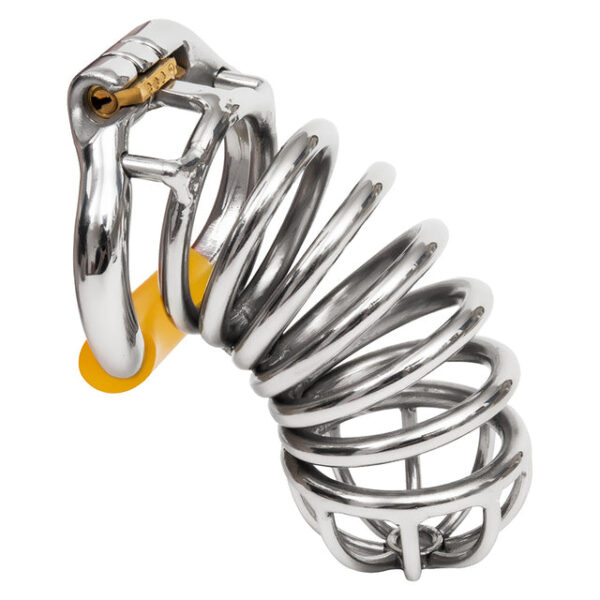 CC25 Stainless Steel Stealth Chastity Device 4.34 Inches Long$65.99
 -
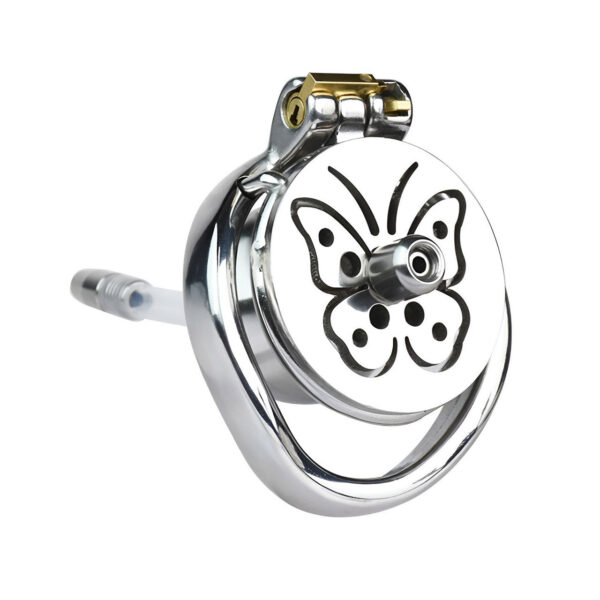 Butterfly Inverted Chastity CagePrice range: $79.99 through $99.99
 -
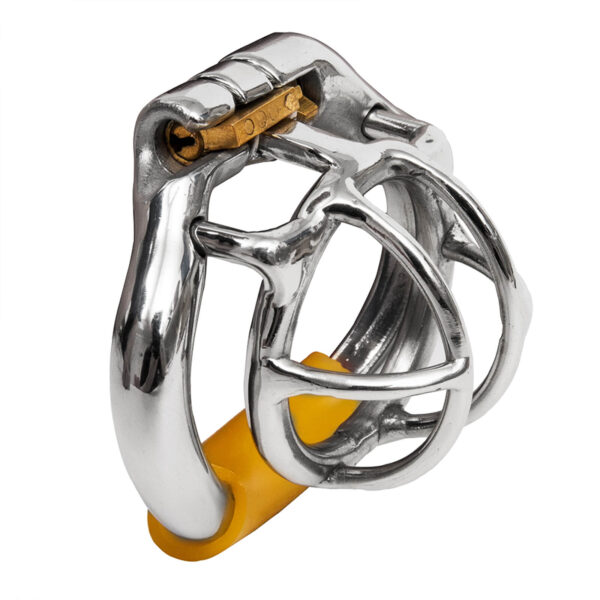 CC24 Male Chastity Cage$69.99
 -
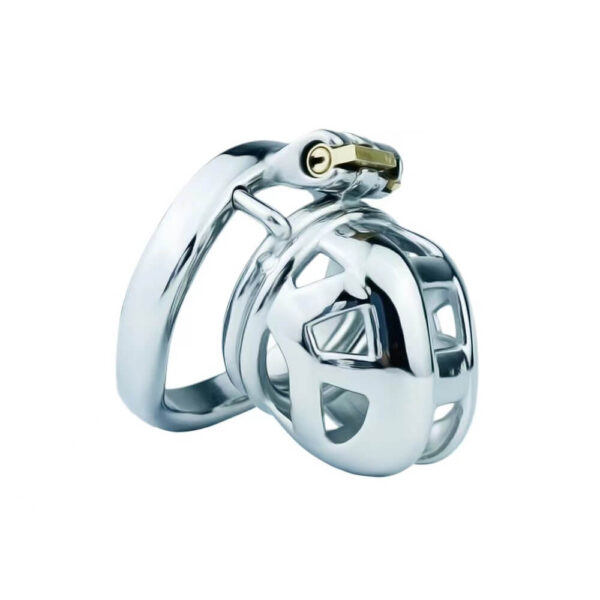 Upgrade Micro Cobra Chastity Cage$79.99
 -
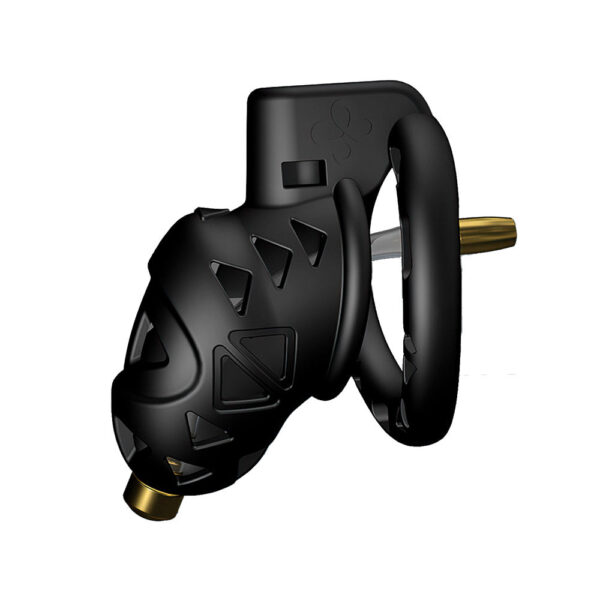 Rattlesnake Chastity CagePrice range: $59.99 through $89.99

